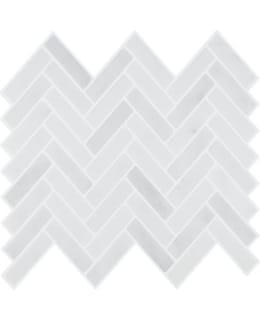
Self-adhesive tiles are an easy DIY project that allows you to update your home effortlessly without the need for building work. These tiles are suitable for use in kitchen and bathroom splashbacks, on worktops, table tops, in bedrooms, living rooms and on other flat surfaces. These self-adhesive tiles require no grouting or cementing and are easy to clean by wiping with a damp cloth.
Self-adhesive tile stickers are resistant to water, oil, high temperatures and mould. Suitable for use on kitchen or bathroom surfaces. Recommended for use on smooth surfaces. Not recommended for installation in the shower.
Size: 30 x 30 cm
Material: PET, polyurethane resin
Cleaning the installation surface:
Carefully clean the installation surface of dust and dirt. Use a degreaser and clean the surface thoroughly. Allow the surface to dry completely before starting the installation.
Marking out guide lines:
Mark out guide lines at the starting point on the installation surface using a ruling pen and chalk or a pencil. This helps to ensure that the tiles are laid straight and even.
Cutting the edges:
Cut any uneven edges off the first tile to make them straight before installation. This ensures that the first tiles are positioned correctly and provide a good foundation for the other tiles.
Removing the protective film:
Remove the protective film from the back of the tile. Make sure the adhesive surface remains clean. Positioning the first tile: Align the straight edge with the first guide line. Press the tile firmly against the surface to ensure it adheres properly.
Laying the remaining tiles:
Lay the remaining tiles, overlapping them so that they fit tightly together without any gaps.